
Creating, and managing User accounts in M365 Entra ID.
Login in to Entra.microsoft.com,
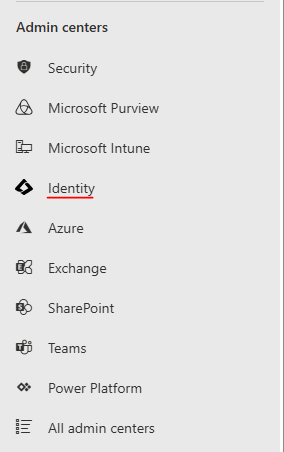
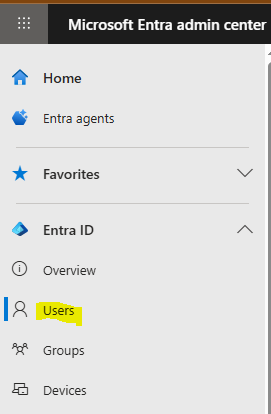
Select Identity, then users.
Entra ID.
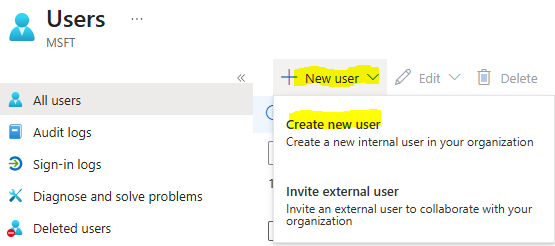
Create a new user.
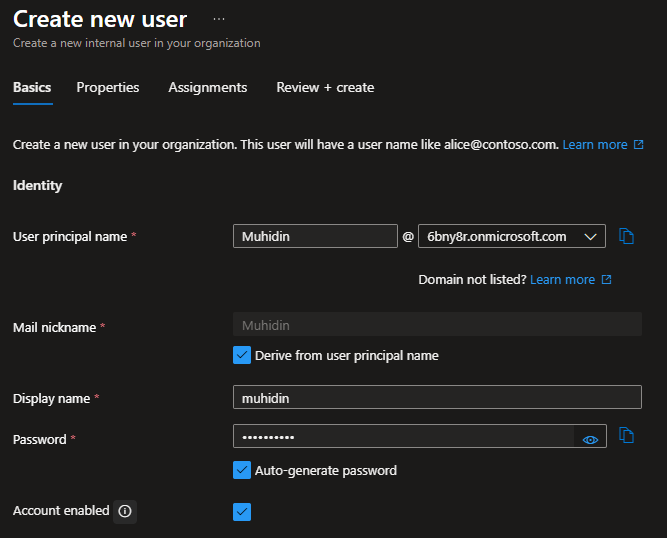
Fill the required fields and click next.
The Properties tab, complete the necessary information about the user Identity and job information and click next.
Add a group if any and create the user.

The user account has been successfully created as you can see i did search the user. You can manage most settings here, but license assignment must be done through the Admin Center.
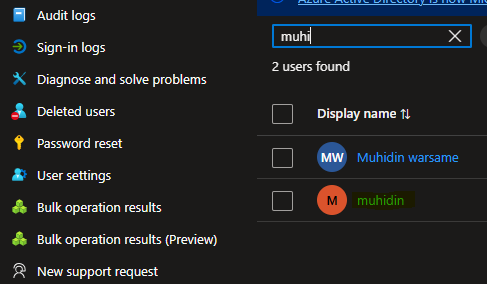
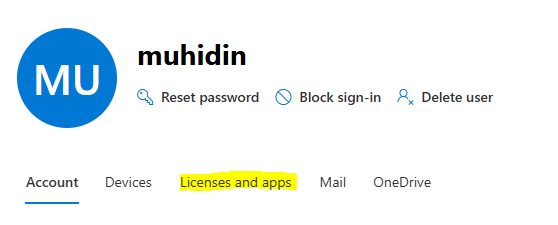
Let me walk you through assigning a license in the Microsoft 365 Admin Center. First, select the user from the list and click their name. This will open the user details panel, as shown on the screen below. You also have the option to reset the user’s password, block the account, or delete the user.
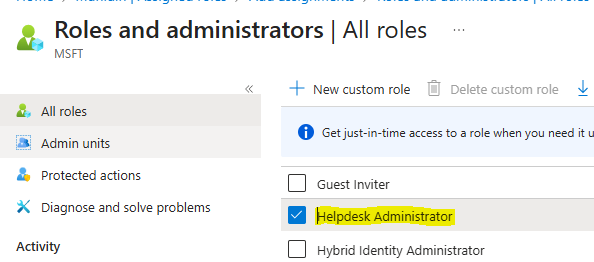
How to assign a role to a User.
In Entra ID, select Assigned roles and click Add assignments. You can also add roles directly from the Admin Center..

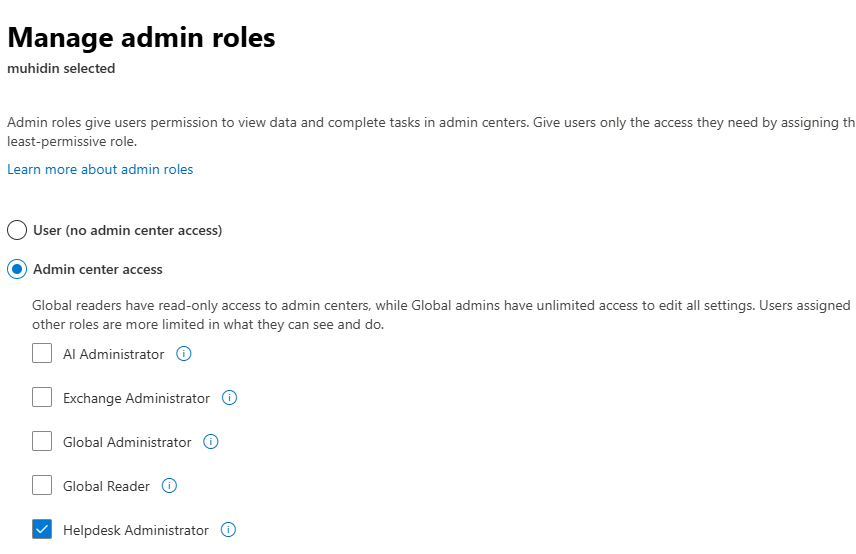
In the Admin Center, begin by selecting the user and opening their profile. Navigate to the Account tab, click Manage roles, choose Admin center access, and then select the role you want to assign and save change.
This demonstrates how you can fully manage and customize your IT environment according to your needs.
Muhidin Warsame is an IT Support Specialist and Microsoft 365 Administrator, helping small businesses modernize their technology and improve security without complexity.
Why Microsoft 365 Is the Smartest Move for Small Businesses? Click here.
Why Microsoft 365 Matters? Read more here.
Why Are Small Businesses a Prime Target for Cyberattacks? Click here.
Muhidin Warsame is IT Support & M365 Admin helping small businesses modernize and secure their IT environment.
Ready to upgrade your IT? Let’s Connect!